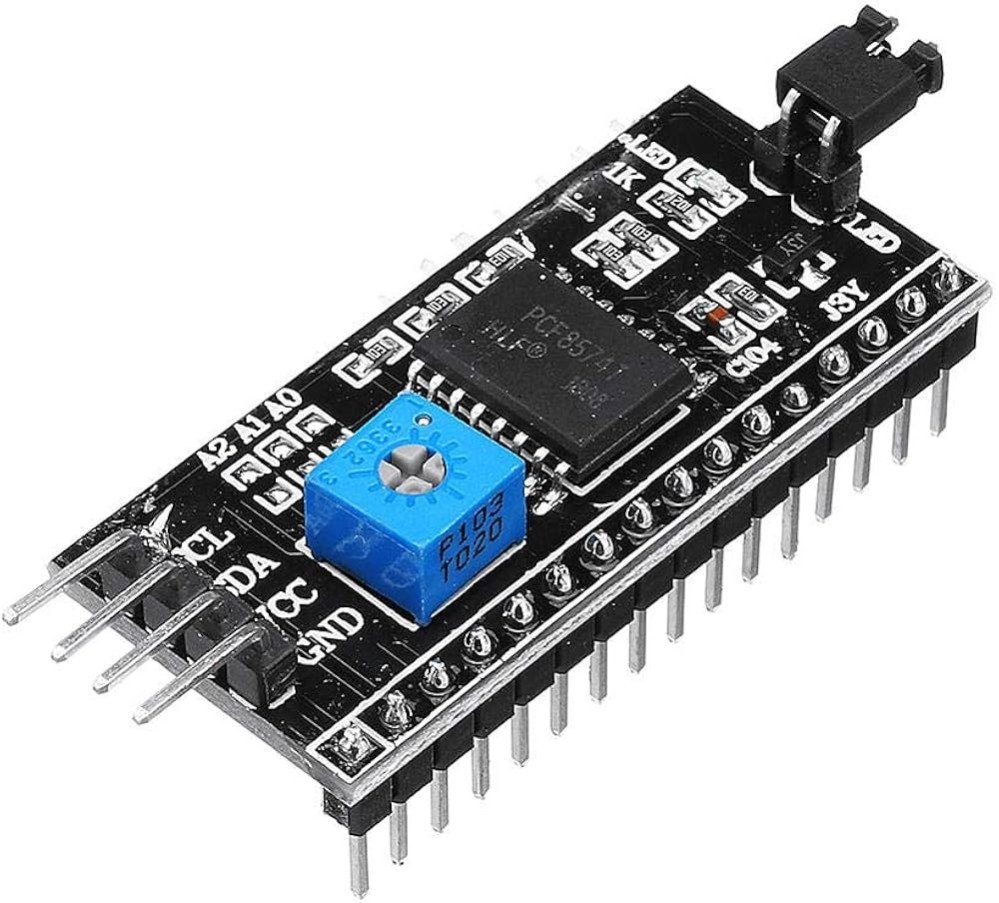


I2C Module Compatible with 16×2 LCD
The I2C Module is used to reduce the no. of pins needed for the display. It enables the display to work with only four pins. The LCD Display can be used with all Microcontroller boards like 8051, AVR, Arduino, PIC, and ARM Microcontrollers.
₹ 54 ₹99
99


I²C, which stands for Inter-Integrated Circuit (sometimes pronounced "I-squared-C" or "I-two-C"), is a communication protocol developed by Philips Semiconductor (now NXP Semiconductors) for connecting low-speed peripherals to a microcontroller or processor. It's a synchronous, multi-master, multi-slave, packet-switched, single-ended, serial communication bus.
Here’s a general overview of how the I²C module works:
1. Basic Structure:
-
Bus Lines:
- SDA (Serial Data Line): This line carries the data being transferred.
- SCL (Serial Clock Line): This line carries the clock signal generated by the master device to synchronize the data transfer.
-
Devices:
- Master: Initiates and controls communication. There can be more than one master on the bus, but only one can control the bus at a time.
- Slave: Responds to the master. Each slave device on the bus has a unique address.
2. Addressing:
- 7-bit or 10-bit Addressing: Each device on the I²C bus has a unique address. The standard format is 7-bit addressing, which allows for up to 127 devices on the bus (excluding the reserved addresses). Some systems use 10-bit addressing to allow for more devices.
3. Communication:
-
Start Condition: Initiated by the master to signal the beginning of a transaction. The master pulls the SDA line low while the SCL line is high.
-
Stop Condition: Signaled by the master to end a transaction. The master pulls the SDA line high while the SCL line is high.
-
Data Transfer: Data is transmitted in bytes, with each byte followed by an acknowledgment bit. The master generates the clock pulses on the SCL line while data is transferred on the SDA line.
-
Acknowledgment: After each byte of data is received, the receiver sends an acknowledgment bit (low) to indicate successful reception, or a non-acknowledgment bit (high) if there is an error.
4. Data Transfer Types:
-
Read/Write Operations: The master can initiate read or write operations. During a write operation, the master sends data to a slave device. During a read operation, the master receives data from a slave device.
-
Data Frames: Each data transfer is organized into frames consisting of the address frame (which includes the address and read/write bit) followed by data frames.
5. Speed:
- Standard Mode: Up to 100 kbit/s.
- Fast Mode: Up to 400 kbit/s.
- Fast Mode Plus: Up to 1 Mbit/s.
- High-Speed Mode: Up to 3.4 Mbit/s (in some implementations).
6. Advantages:
- Simplicity: Requires only two wires for communication, regardless of the number of devices on the bus.
- Multi-Master Capability: Multiple masters can share the same bus, though only one can control the bus at any time.
- Flexibility: Supports multiple slave devices, each with a unique address.
7. Applications:
I²C is widely used in various applications such as:
- Communication with sensors (e.g., temperature, humidity, accelerometers).
- Interfacing with EEPROMs and RTCs (Real-Time Clocks).
- Connecting display modules and other peripherals in embedded systems.
Example Use Case:
Imagine you have a microcontroller with an I²C bus and you want to read temperature data from a temperature sensor. The microcontroller (master) sends a start condition, followed by the sensor's address and a read command. The sensor (slave) responds with its data, and the microcontroller reads the data from the bus.
Overall, the I²C protocol is valued for its simplicity and effectiveness in connecting multiple devices over a short distance, making it a popular choice in many electronic and embedded system designs.


i
import time
import i2c_lcd
# Define the I2C address of the LCD (this is usually 0x27, but it can vary)
I2C_ADDR = 0x27 # or 0x3F depending on your LCD module
# Initialize the LCD screen
lcd = i2c_lcd.Lcd(I2C_ADDR, 16, 2) # 16 columns and 2 rows
# Clear the LCD before writing
lcd.clear()
# Write something on the LCD
lcd.set_cursor(0, 0) # Set cursor to first row, first column
lcd.write("Hello, World!")
lcd.set_cursor(0, 1) # Set cursor to second row, first column
lcd.write("Raspberry Pi!")
# Wait for a few seconds before clearing the screen
time.sleep(3)
# Clear the screen
lcd.clear()
# Display a custom message
lcd.set_cursor(0, 0)
lcd.write("I2C LCD with")
lcd.set_cursor(0, 1)
lcd.write("Python!")
# Wait a few seconds before ending
time.sleep(3)
# Clear the screen again
lcd.clear()
0 Reviews For this Product
Related Products


.jpg&width=225&quality=80)
